Saturday 17 November 2012

Flint

My sketchbooks contain many ideas which have yet to see the 'light of clay'; so when I sit down with a lump of clay I am never thinking 'What shall I make?'.

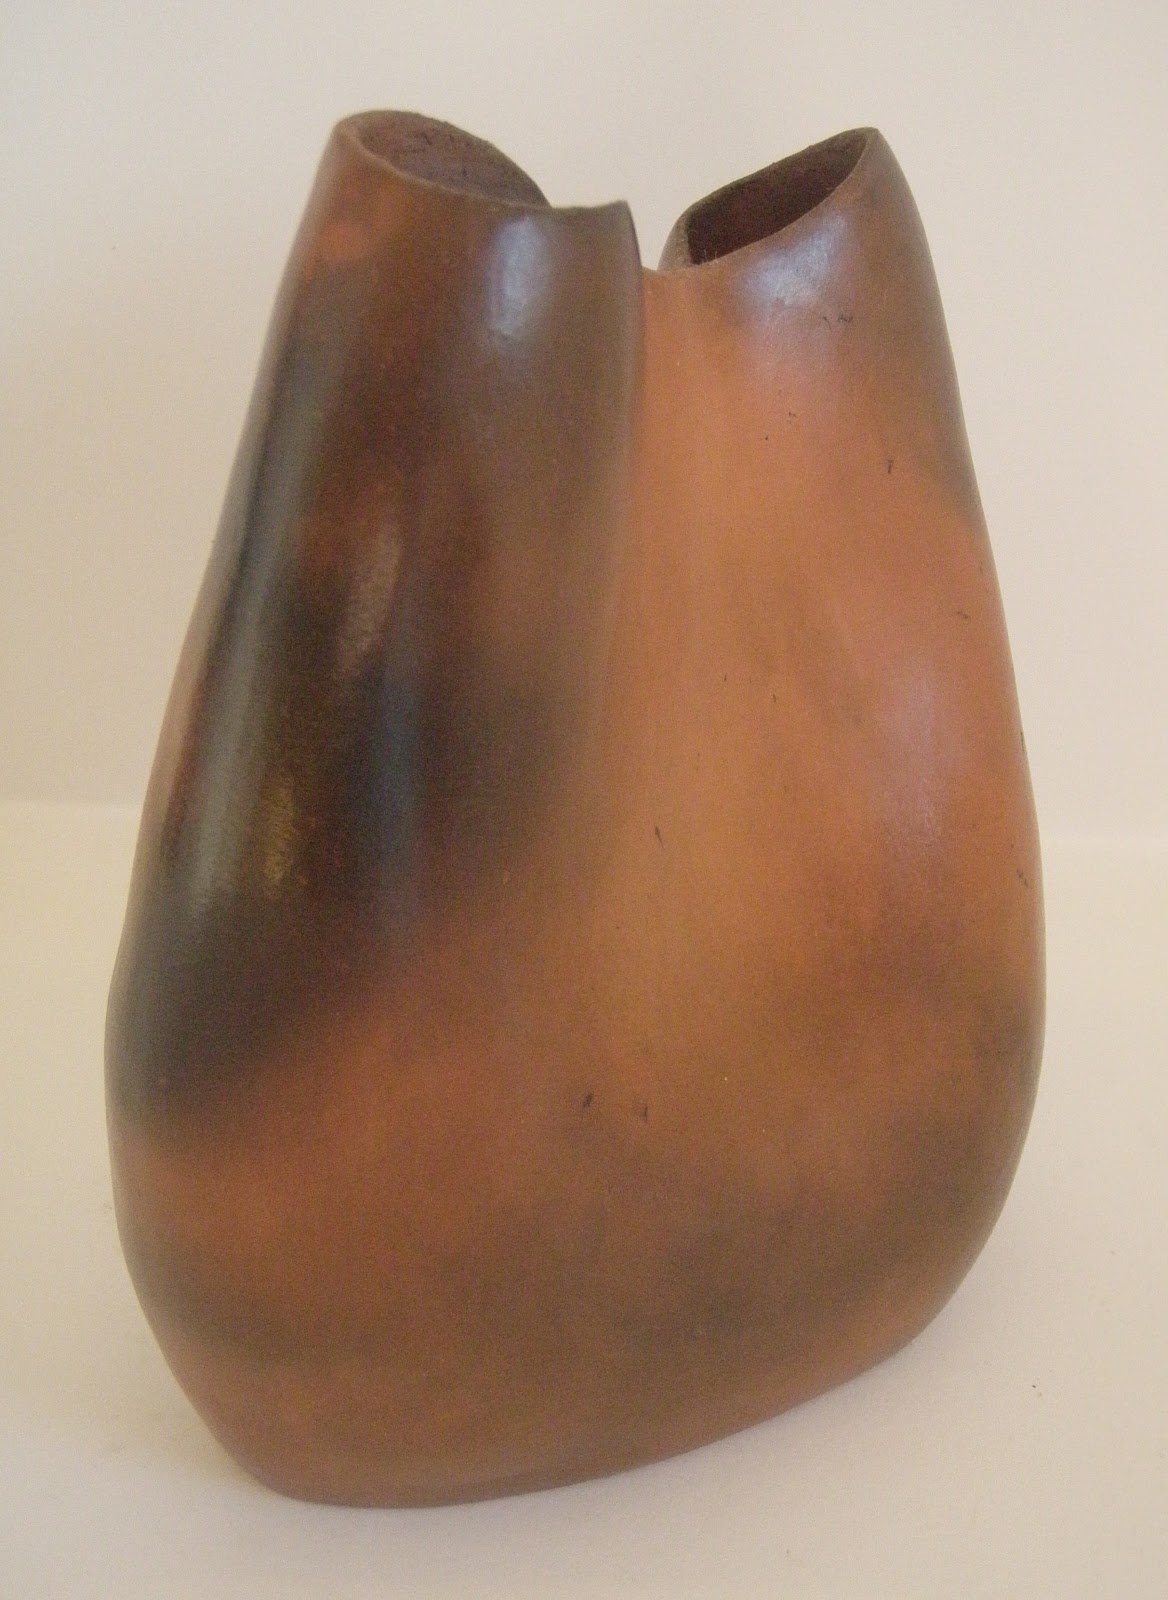
One idea has been in my sketchbook for several months waiting for the right trigger to be implemented in clay. This 'trigger' came when I was given an interesting off-cut of yew which I felt would make a beautiful base to compliment the form of the ceramic piece.

My original plan had been to leave the clay in it's natural state (as I have done with many of my sculptures). However, after walking along the beach at Hengistbury Head in early September, where I was enjoying picking up and admiring the flints, I decided to try to create this effect.

I started by covering the finished sculpture in 3 coats of black slip, over this I loosely brushed on 2-3 coats of white slip, leaving areas of black exposed on the edges. I burnished the protruding areas of black slip before firing the piece to bisque then stoneware.

The piece of yew needed a lot of work to refine the shape (unfortunately I forgot to photograph it before starting to work on it). Meir Weiss kindly helped with the initial shaping with some of his power tools, I then took over and refined the shape with hand tools and finally 3 grades of sandpaper. Initially I waxed the wood, but my beeswax is slightly coloured and this spoilt the natural colour of the yew. Back to yet more sanding to remove the wax, and then a small amount of olive oil and I was happy.

Twisted Flint Form - Ceramic on yew base (h-31cm, w-45cm)


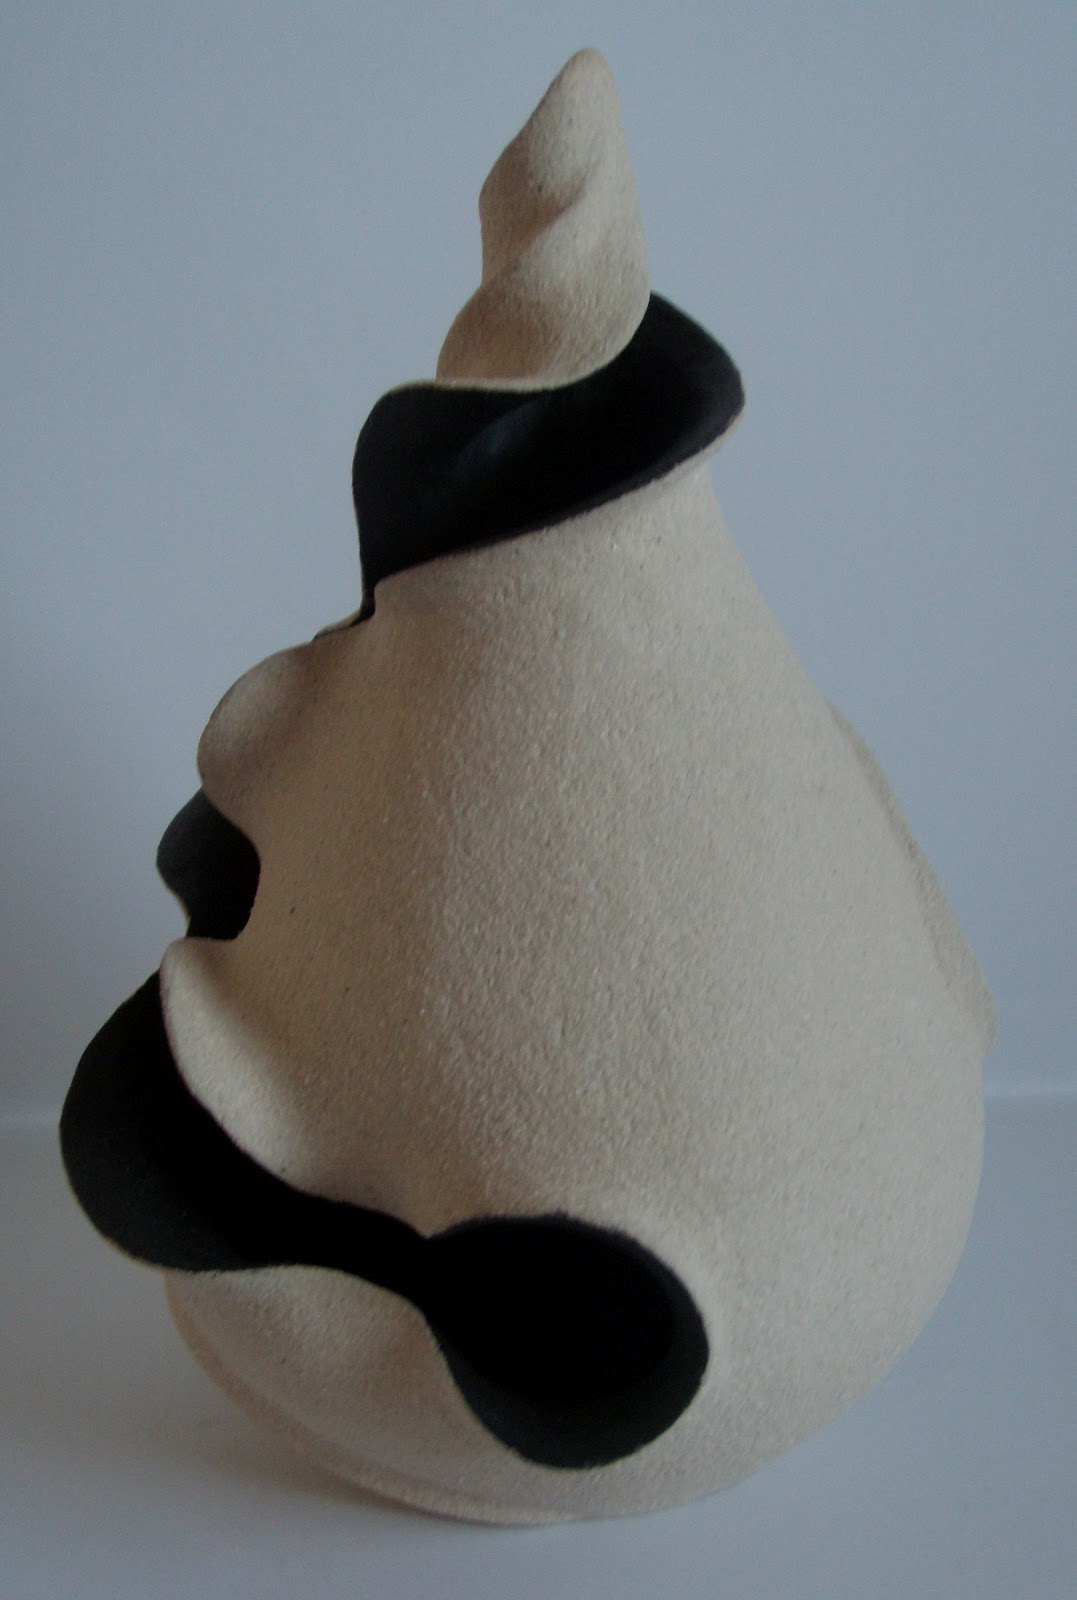
I have also created another piece based on my observations of flints.


This time I also used some yellow slip, as well as the white; but I was not very happy with the result, so have since 'smoked' the piece.
Not really convinced that this improves the piece. It may be that it is destined for a secluded spot in the garden!

Thursday 25 October 2012

Sprouting

Autumn is the time of year when lots of wonderful fungi are sprouting in the woods and fields.
I also have them sprouting out of more pieces of spalted beech.
My original Fungi have been so popular that I have started making more ready to sell...

Quad Fungi - Ceramic and Beech (30x30cm)
Triple Fungi - Ceramic and Beech (30x30cm)

Once again, the ceramic fungi and the spalted beech are mounted on MDF and plywood, primed with Gesso.

My wood from Meir Weiss has also included pieces which he gave to Ken to burn on our new log burning stove. Fortunately before the wood was added to the wood pile I had a rummage and found more pieces of spalted beech, which I have squirelled away into the garage for future use.

By cutting up one log, removing bark, refining the shape, lots of sanding and finally polishing with beeswax; I produced the following beautiful piece of wood.

Some may feel that the wood is of sufficient beauty and interest to display on its own. However, I wanted to use the wood as the foundation for some ceramic work. Looking through a recently acquired book on Lichens, I came across an image of the Lichen, Cladonia chlorophea, similar to the image below.

a photo of Cladonia chlorophaea group

Several sketches later plus lots of work with clay, oxides and glazes and final work with a drill has resulted in the following sculpture.

Lichen - Ceramic and Beech (h-20cm, w-23cm)


I am sure that everyone will have a different opinion as to whether this adds or detracts to the beauty of the original piece of wood; life would be very dull if we all liked the same things! Personally I am pleased with the result and enjoying having the work displayed in my home (Ken has yet to express an opinion, perhaps he is being diplomatic?)

Tuesday 23 October 2012

Success!!

It was with some trepidation that I loaded my kiln for its first stoneware glaze firing; would I have mixed my glazes correctly so that they did not run and fuse my work to the kiln shelves?
I needn't have worried (something I do very well after a great many years of practice); when I opened the kiln this morning all my work was sitting happily on the shelves with not a dribble of glaze in sight.
It was with great excitement that I unloaded and examined each piece; all small pieces that had not taken too much time to make, in case things went wrong. Really I should have started with lots of test tiles to check out glazes and oxides, but find these pretty tedious to make; I am in the process of making lots at the moment so that I can start experimenting.
I was so pleased with my little blue-grey pots that I immediately got the drill out so that I could put on their handles, made from small pieces of hand carved yew and paua shell, and take them in to work to show to colleagues. Judging by the reception, think I will need to get busy making more to satisfy the demand.


Here are some of the other small pieces which came out of the kiln this morning.

The fig leaves were made from one of my leaves from the garden and are designed to be used as spoon rests. The green is from copper oxide in the veins and then a brush on glaze over this. In two or the heart bowls I was experimenting using an underglaze pencil to draw over the white slip, finished with a clear glaze; lines are very faint, so obviously did not get enough underglaze from the pencil.
My firing also included lots of fungi and lichen which I am busy assembling with some of the beautiful spalted beech that I have been given; watch this space....

Wednesday 17 October 2012

My own kiln!

At last, thanks to a generous loan from my parents, I have my own kiln!

I have been thinking about investing in one for some time. After a lot of research, I decided to invest in a new Rohde Ecotop 43L; which is a small, economical top loading kiln which has the advantage of plugging in to a 13A socket. The kiln will allow me to fire up to stoneware temperatures, which was an important criteria in my choice.

The kiln arrived just over a week ago and was soon going through the 'burn-in' process. Having re-tightened the belts around the kiln after this, I loaded the kiln for my first bisque firing.

The garage became very warm and cosy during the firing, may need to invest in a clothes airer with pulley to attach to the roof so that I don't waste all this heat!
Everything fired well, so now busy with oxides and glazes on these pieces ready for the stoneware firing.

Wednesday 5 September 2012

Summer Holidays

Having yet to invest in my own kiln, I rely upon the kiln at Bracknell college for the firing of all my work.
In past years this has led to a lack of finished ceramics work during the months of the summer holidays.
This year I decided to buy some of my own clay plus oxides/glazes and to have my work fired at Bluematchbox.
This has enabled me to complete more work ready for my sale at the Thrive Open Day on Saturday 15th September.
My house leek planters have proved very popular at previous Thrive events, so I have made a few more, here they are planted ready for the big day.
Koru planter with sea glass (diameter ~ 13cm)

Koru planter (diameter ~ 14cm)

Wavy edge planter (diameter ~ 13cm)
I have also made several new bowls...

 Koru bowl with sea glass (~11cm diameter)

 Stepped edge bowl with sea glass (~10cm diameter)
 
 Offset bowls with sea glass (~10-13.5cm diameter)


Monday 3 September 2012

Beachcomber

Whenever I spend any time on a beach, I always have my head down, seeing what treasures I can find. During our summer two week holiday in Pembrokeshire on one of our long walks along the fantastic coastline, we paused for lunch at Mill Bay on St. Anne's Head. Mill Bay is best known for the landing of Henry Tudor on 7th August 1485, having sailed from France with an army of 2,000 men. From Mill Bay they marched through Wales to defeat Richard III at the Battle of Bosworth. More recently the Bay became the resting place for the wreck of HMS Barking. However it is not a beach known for a large collection of driftwood, so I was pleasantly surprised to find a potentialy interesting piece. Our dog was also interested in the wood, she could not understand why I was carrying the wood for the remaining few miles of the walk and not giving it to her to chew!
After coming home when the wood had dried out, I was able to set to work with my penknife and sandpaper, with this result....

Sunday 15 July 2012

Spiral Twist

Last year I made a large spiral sculpture for my garden, unfortunately several cracks appeared when firing this piece, which means I can't leave it out in the garden all year round.
Time to try to improve on this piece and make one without cracks.
SUCCESS!
Spiral Twist (~43cm)

Sgraffito


Angie Lewin - Pale Day

Sgraffito means scratching or drawing into clay - the term derives from the Italian graffiare, to draw. It is one of the commonest and most widespread decorative techniques, found in all ages and cultures. However, it is one technique which I had not dabbled in until recently.

During the Henley Arts Trail in early May I was very impressed by the work of Bronwen Coussens who uses Sgraffito to decorate her pots in a style very similar to the work of the printmaker Angie Lewin. I discovered Angie Lewin's work earlier this year and fell in love with her prints inspired by the structure of wild plants. Here is an example of one of her woodcut prints.


For my first attempt at using sgraffito, I made a couple of small heart bowls from terracotta clay, coated the insides with white slip, then 'doodled' with a pencil to reveal the terracotta clay beneath. I have now bought myself a proper sgraffito tool. After biscuit firing, I painted Persian Crackle glaze on the inside of the bowls and fired to Earthenware.

Sgraffito heart bowls (~8cm)


I also experimented by covering a sphere of white St. Thomas clay with several coats of black slip, then 4/5 coats of white slip, which I drew into to reveal the black slip (hard not to also draw through the black slip without a ball-end sgraffito tool). I finished by burnishing the sphere using the back of a teaspoon. When the piece was fired to Stoneware I was pleasantly surpised at how shiny it was, I had expected to need to polish with wax. I also liked the 'smokey' effect which burnishing with the metal spoon had given. A useful experiment.
Burnished sphere (~10cm)
My next stage was to use some of my plant sketches as the starting point for decorating some pots using sgraffito.


 I 'pinched' some small pots in terracotta clay and practised my technique, very pleased with these...

small Sgraffito vases (~8cm)

...time to make a larger vase based on my sketch shown above...

Koru Sgraffito Vase (19 x 13 cm)
I am continuing to develop this technique, as I am very pleased with my results to date.

Sunday 17 June 2012

Smoking!

Over the past few weeks I have been working with terracotta clay, having been inspired by some of the speakers at West Forest Potters.

This clay really lends itself to burnishing before the first firing. I find it very satisfying to sit rubbing a pot with the back of a teaspoon or a polished stone to bring the clay to a beautiful sheen, especially when there is a good play to listen to on Radio 4! After biscuit firing I then smoke the pot in the garden and finish by polishing with beeswax whilst still warm. I love the unpredictability of smoking, safe in the knowledge that if I do not like the result, I can either smoke again or put back into kiln and fire off the marks from the smoking.

Here are two new pots which I feel have come out very well from the whole process.

Smoked Vase (h~21cm, w~14cm)
Distorted Smoked Vase (h~14cm, w~11cm)

Saturday 16 June 2012

Ferns

A few weeks ago was one of my favourite times in the garden; as the new shoots of my many ferns emerge and start to unfurl. I took the opportunity to sacrifice some of the mature fern fronds by cutting some of the new shoots (koru) to use to impress into clay. I used 3 different sized moulds at college to make a large circular plate, a large rectangular platter and a small rectangular plate.  Into all of these I pressed a range of koru and fern fronds before biscuit firing. After this first firing I then used a combination of copper oxide to highlight the impressions and a mixture of glazes, before the final stoneware firing. I am very pleased with the results of the two large platters (small plate not fired yet).
Large fern plate (~32cm)

Large rectangular fern platter (~37x17cm)

Wednesday 9 May 2012

Successful exhibition

Over the Bank Holiday weekend I exhibited 16 items of my ceramics work at the annual exhibition of West Forest Potters which was one of the venues on the Henley Arts Trail. The exhibition was full of wide variety of interesting work, and received many visitors each day. Not only did I receive a lot of very positive feedback for my work, but also sold 7 items (I had 2 items which were not for sale); always good to know that people like your work sufficiently to pay for it. However, it is sometimes hard to part with pieces which have been so enjoyable to make, such as my large 'Rock Form with sea glass'

Another piece which I would have quite liked to enjoy at home for a while was my recently produced  'Curled Leaf'
I also sold the following pieces:-


and two cream birds.
I am already planning what to be making ready for next year's exhibition!

Sunday 6 May 2012

Cupcake

A few weeks ago when chatting with our daughter in New Zealand, she jokingly suggested that I bake her a cake. After finishing our conversation I remembered seeing a knitting pattern for a cupcake and thought it would be amusing to knit her a cake to post to NZ. Having located the pattern, I needed to go shopping to buy the 2 circular needles and 3 balls of 4 ply wool. Hobbycraft was useless, so ended up in John Lewis spending quite a lot of money. I then needed to learn how to knit in the round using 2 circular needles; fortunately the book I had included clear instructions and good pictures, so I soon mastered this fiddly technique and was on my way knitting a cupcake! A few hours later it was completed, photographed and the next day posted to New Zealand.
I wish that I could have seen Katy's face when she opened the package; not quite the cake she had envisaged, but one that is good for the figure!
Having bought the needles and wool, and mastered a new knitting technique; I am now busy knitting more cupcakes ready to put on my stall at the Thrive Open Day on Saturday 12th May from 11.00am to 4.00pm. Do come if you can, not only is it an opportunity to see my work, but also you can enjoy the beautiful gardens at Thrive and sample some of the delicious cakes which the wonderful staff and volunteers make for these occasions.

Sunday 29 April 2012

Curled Leaf

I am finding that I keep referring back to the research work and ideas which I had when doing my Access course; a really productive year with not enough time to implement all my ideas.
When researching for my final 'Seed' project I came across an image of a piece of work by the Sculptor Will Spankie
 
This piece of work called 'Curled Leaf' and is a Stone carving of three leaves curling around each other. They form to make the shape of a drop of water. However, at the time it caught my attention because of the similarity in shape to a seed pod, so I kept a copy of this image in one of my sketchbooks.
I used this image as the starting point for a new piece of work, which I have also called 'Curled Leaf', much smaller than the original stone carving.

'Curled Leaf' - Ceramic (~15x25cm)